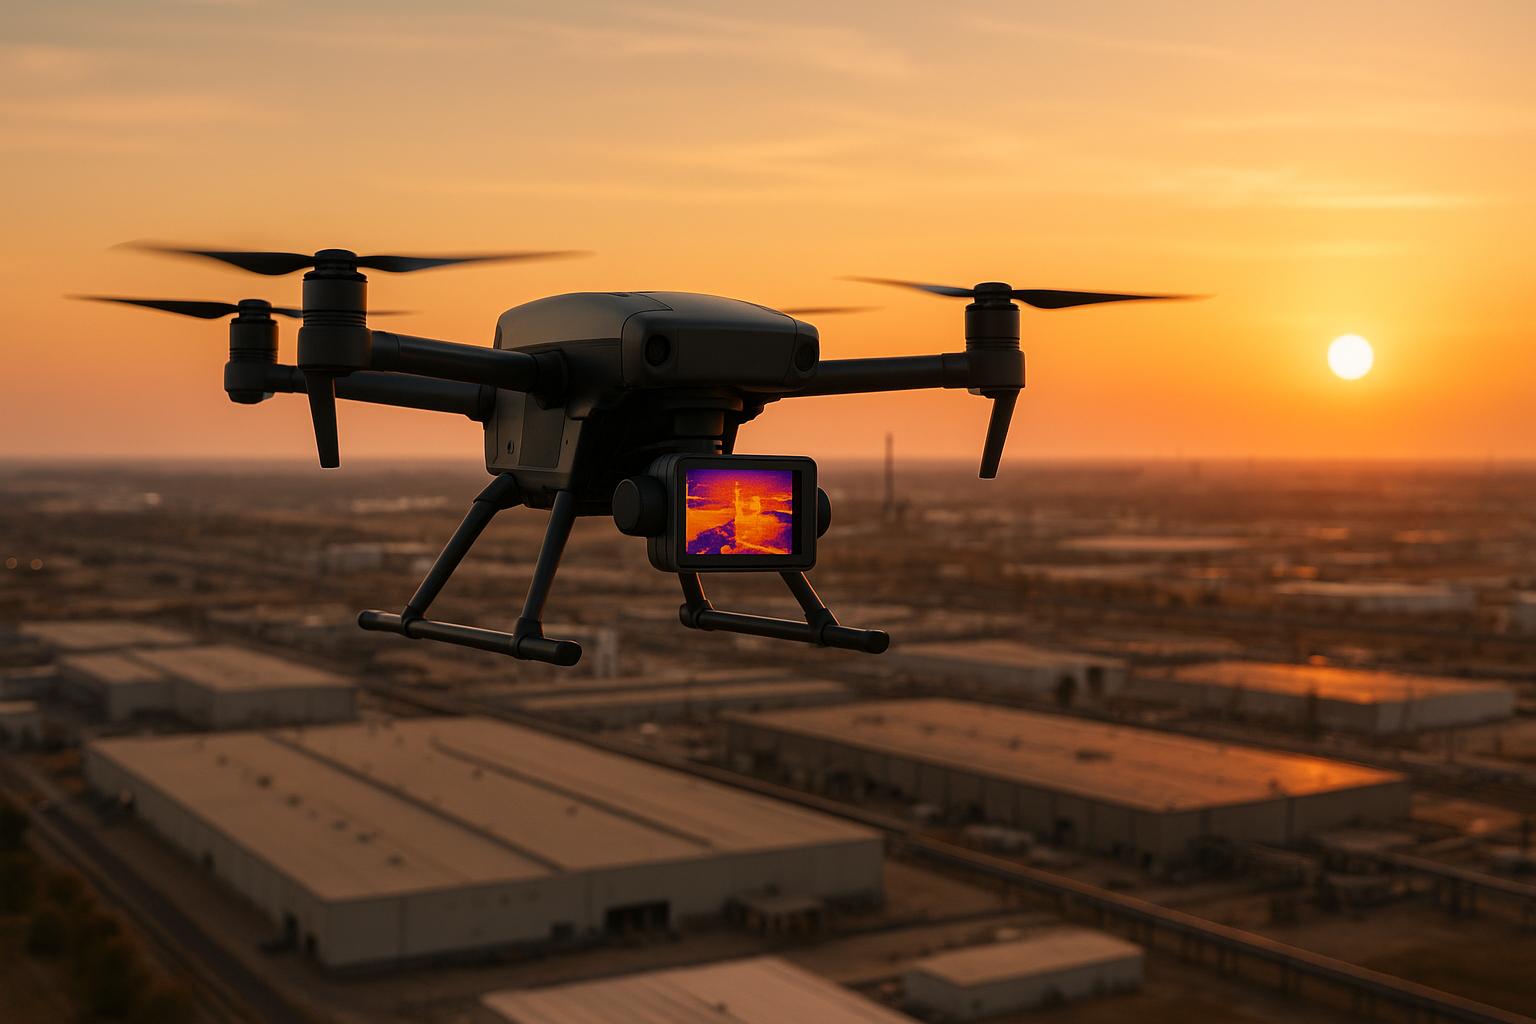
Thermal drones equipped with infrared cameras are transforming how large sites are inspected. By detecting temperature variations, they allow teams to identify issues like electrical faults, leaks, and insulation problems in less time compared to traditional methods. These drones ensure safety by accessing hard-to-reach areas and provide accurate, georeferenced thermal maps for analysis and maintenance planning.
Key Takeaways:
- Fast Inspections: Drones can scan expansive areas quickly, reducing time spent on manual surveys.
- Applications: Detect heat buildup in electrical systems, moisture in roofs, and pipeline leaks.
- Safety & Records: Inspects hazardous areas without risk to workers and provides detailed records for monitoring.
- Challenges: Requires careful planning, permits, and advanced tools to handle large datasets and ensure accuracy.
Efficient thermal mapping involves selecting the right equipment, planning flight paths, and using tools like cloud-based platforms for processing and collaboration. With proper workflows, teams can collect and analyze high-quality data to address site issues effectively.
HOW to CREATE an Orthomosaic THERMAL Map and Thermal INSPECTION using DJI FlightHub 2
Setting Up Your Thermal Drone Mission
Careful planning is key to avoiding unnecessary repeat flights. This means selecting the right equipment, mapping out efficient flight paths, and securing all necessary permits ahead of time. Once you’ve laid out your mission framework, it’s time to configure your gear for peak performance.
Choosing the Right Equipment
Start by selecting a thermal camera with a sensitivity of at least 0.05°C. This level of precision is essential for spotting small temperature variations, especially on large industrial sites. A solid option is the FLIR Vue TZ20, which offers a 640×512 pixel resolution and a 20× zoom - perfect for detailed inspections while still covering wide areas.
Next, ensure your drone has a flight time of 45–90 minutes. Models like the DJI Matrice 300 RTK are ideal, as they support hot-swappable batteries, allowing for uninterrupted operation.
Compatibility between your thermal camera and flight planning software is equally important. Look for tools like DJI Pilot 2 or Pix4Dcapture, and ensure your camera includes RTK GPS for centimeter-level accuracy, which helps align thermal maps with site layouts.
Planning Your Flight Path
With your equipment ready, the next step is to design a flight path that guarantees seamless data collection.
Flying at altitudes of 200–300 feet strikes a balance between capturing detailed images and covering larger areas efficiently. Flying higher might save time but risks missing key anomalies, while flying lower increases battery usage.
Image overlap is another crucial factor. Aim for an 80% forward overlap and a 70% side overlap to ensure your data can be stitched together into a flawless thermal mosaic without any gaps.
Flight speed also matters. Since thermal cameras need longer exposure times than standard ones, keep speeds between 15 and 25 mph to avoid motion blur and ensure sharp image quality.
For large sites, using ground control points (GCPs) can significantly enhance mapping precision. Place GCPs in a grid every 1,000 to 1,500 feet. Use targets that contrast well thermally and mark their locations using survey-grade GPS equipment.
Weather conditions can make or break your mission. Choose days with steady weather, minimal wind (under 15 mph), and consistent cloud cover. Avoid flying immediately after rain or during rapid temperature changes, as these factors can interfere with thermal readings.
Getting Permits and Permissions
Before you take to the skies, make sure your drone is registered with the FAA and that you hold a Part 107 Remote Pilot Certificate.
If you’re flying in controlled airspace, such as Class B, C, or D zones, you’ll need airspace authorization. Tools like LAANC (Low Altitude Authorization and Notification Capability) can streamline this process.
Planning a night flight? You’ll need an operational waiver under Part 107 and must equip your drone with suitable lighting. For operations in restricted areas - like military bases or zones with Temporary Flight Restrictions (TFRs) - explicit FAA approval is required. Always check NOTAM systems before each flight, as TFRs can be issued at short notice.
Don’t forget about local permissions. Obtain site-specific access from property owners or facility managers before starting your mission.
For very large sites where multiple drones may need to operate simultaneously, you’ll need special waivers. Current Part 107 rules limit operators to controlling one drone at a time. Following these steps ensures your mission runs smoothly and meets the high standards needed for thermal mapping on a large scale.
Collecting Quality Data on Large Sites
When it comes to thermal mapping, the quality of your data collection is everything. The right timing, thorough coverage, and real-time checks all play a huge role in ensuring your results are reliable. These steps lay the groundwork for successful thermal inspections.
Best Times for Thermal Data Collection
Timing can make or break the accuracy of your thermal data. To reduce the impact of solar heating, schedule your drone flights for early morning or late afternoon when surfaces are cooler and less influenced by direct sunlight. Early morning flights, right after the overnight cooling period, are ideal for capturing precise thermal signatures. This is especially important for inspecting solar panels, electrical systems, or building exteriors. Midday flights, on the other hand, can introduce glare and obscure anomalies. Always aim for stable weather conditions and dry surfaces to keep your readings consistent.
Flying Systematic Drone Patterns
A systematic grid pattern is your best bet for covering the entire site effectively. Stick to a consistent speed and altitude to avoid motion blur and make post-processing smoother. Keep the thermal camera pointed straight down for the most accurate results, and save angled shots for specific inspections of vertical structures.
Checking Data Quality During Flights
Real-time monitoring can save you from having to redo flights due to poor data. Watch the live thermal feed closely to confirm clear temperature contrasts and quickly identify any anomalies. Adjust the camera's focus during the flight to keep images sharp, and ensure there’s enough overlap between images for seamless stitching later. Stay aware of environmental changes - if conditions worsen, pause the flight. During short landing breaks, use quick validation tools to check for issues like motion blur or bad exposure before continuing. These small steps can prevent major headaches down the line.
sbb-itb-ac6e058
Processing and Analyzing Thermal Data
Once you've gathered your thermal data, the next step is to turn those raw images into meaningful insights. This involves converting thermal images into heat maps and reports that can guide maintenance efforts and help identify issues effectively.
Transferring and Processing Data
Start by transferring your thermal images securely. Use high-speed memory cards or direct cables to avoid any risk of data corruption. Thermal cameras store data in a pixel-specific temperature format, which is essential for accurate analysis.
Processing software plays a key role here. It stitches individual thermal images into seamless orthomosaics or even 3D models. For large sites, cloud-based processing can be a game-changer. It handles massive datasets without burdening your local hardware, though upload times will depend on the speed of your internet connection.
Once your images are processed, you can move on to analyzing temperature patterns for any irregularities.
Analyzing Temperature Patterns
Begin by establishing baseline temperature readings for the site. This helps you spot anomalies like hot spots or unusually cool areas, which might signal equipment malfunctions or insulation problems. Use temperature measurement tools to log precise readings, and document them with GPS coordinates. This way, field teams can quickly locate and address the flagged areas.
Using Anvil Labs for Thermal Analysis

To speed up the analysis and reporting process, consider using a specialized platform like Anvil Labs.
Anvil Labs simplifies thermal analysis with its user-friendly drag-and-drop interface and various processing options. It converts raw thermal data into actionable insights, allowing teams to inspect thermal imagery directly. This enables quick identification of defects, spatial analysis, and the creation of automated reports to highlight potential issues. According to users, this platform has helped detect 30% more defects and reduced inspection times by 75% compared to traditional methods. Features like cross-device access, secure project management, and per-project pricing make collaboration and billing straightforward. Plus, robust annotation and measurement tools let inspectors mark critical findings directly on the thermal images, complete with GPS references for precise location tracking.
Maintaining Accuracy and Speed at Scale
When it comes to mapping large industrial sites with thermal drones, the challenge isn’t just gathering the data - it’s ensuring that the process is consistent and meets quality standards every time. By building on solid data collection practices, scalable workflows help maintain both precision and efficiency. The secret? Developing repeatable processes that minimize guesswork and reduce human error.
Streamlining Flight and Data Workflows
Thermal mapping at scale requires workflows that are standardized and repeatable. A good starting point is creating detailed flight checklists. These should include equipment checks, weather assessments, and battery levels to avoid costly mistakes like mid-flight sensor failures.
Before each flight, confirm GPS accuracy, calibrate thermal sensors to match ambient conditions, and check that there’s enough memory space for the data. Large sites can be divided into grid sections, with designated landing zones to speed up battery swaps. This keeps drones closer to the ground crew, cutting down on unnecessary flight time.
Organizing data during collection is another time-saver. Use a consistent naming system (e.g., date_section_flight number_thermal.jpg) to simplify processing later.
To ensure quality, integrate checkpoints into your workflow. After covering each grid section, conduct an on-site review of the thermal images. Check for proper image overlap, consistent temperature readings, and clear thermal signatures. Catching issues early means fewer data gaps and avoids the need for re-flights.
Once you’ve established reliable on-site processes, cloud collaboration can take efficiency to the next level for larger projects.
Using Cloud Platforms for Team Collaboration
Large-scale thermal mapping often involves teams spread across locations and time zones. Cloud platforms solve the headache of transferring data via physical drives or email attachments, speeding up collaboration.
For example, Anvil Labs offers a platform with cross-device accessibility and secure project management tools. Teams can upload thermal imagery directly from the field, enabling analysts to start processing data while drone operators continue surveying. With per-project pricing at $49, it’s a cost-effective solution for large sites requiring multiple surveys.
Real-time collaboration is especially helpful when urgent thermal anomalies arise. Instead of waiting for formal reports, team members can use annotation tools to highlight hot spots or equipment issues directly on thermal images. Field technicians can then access these marked locations on mobile devices, complete with GPS coordinates for precise navigation.
Project managers can also control access levels. Some team members might only need to view the thermal data, while others might require full editing permissions for in-depth analysis.
Workflow Comparison Guide
Below is a comparison of manual and cloud-based workflows to help determine the best fit for your project:
| Workflow Aspect | Manual Approach | Automated/Cloud Approach | Best Use Case |
|---|---|---|---|
| Data Processing | Local software, manual stitching | Automated cloud processing | Manual: Small sites (<50 acres) Cloud: Large sites (>100 acres) |
| Team Access | Physical file sharing, email | Real-time cloud collaboration | Manual: Single-operator projects Cloud: Multi-team operations |
| Quality Control | Individual review, paper checklists | Digital workflows | Manual: Simple inspections Cloud: Complex industrial sites |
| Cost Structure | High upfront software costs | Pay-per-project or monthly subscriptions | Manual: Occasional mapping Cloud: Regular survey schedules |
Processing speed is a major differentiator. With manual workflows, processing thermal data from a 200-acre site might take 2–3 days using local software. Cloud-based systems, on the other hand, can cut this down to just 6–8 hours, enabling quicker responses to critical maintenance issues.
Storage is another consideration. Local storage requires manual backups and risks data loss if hardware fails. Cloud platforms, however, offer automatic backups and version control, ensuring data is always accessible, even if local equipment malfunctions.
Training requirements also impact timelines. Manual workflows often need specialized software training, whereas cloud platforms like Anvil Labs feature user-friendly interfaces. This reduces training time and allows team members to focus on analyzing data instead of navigating complicated software.
Finally, scalability is key for growing operations. Manual workflows quickly hit their limits when managing multiple large sites, while cloud platforms can handle increasing data volumes without the need for additional hardware. For companies looking to expand their thermal mapping services, cloud systems provide the flexibility to grow without added infrastructure costs.
Conclusion
Thermal drone mapping is reshaping the way large industrial surveys are conducted. By providing precise temperature data quickly and reliably, it addresses the challenges of large-scale data collection and high-resolution processing, as discussed earlier.
Key Points to Remember
Here are the main takeaways from our discussion:
- Planning and Preparation: Effective thermal mapping hinges on careful planning, the right equipment, and strategic timing. Standardized workflows, detailed checklists, and quality control measures are crucial to avoid errors, data gaps, or the need for costly re-flights - especially for surveys exceeding 100 acres.
- Collaboration Tools: Cloud-based platforms like Anvil Labs simplify teamwork in complex operations. With thermal imagery support, cross-device accessibility, and automated processing, these tools make sharing project data seamless. At $49 per project, they’re budget-friendly for large-scale mapping and reduce dependence on traditional software licenses.
- Efficient Data Processing: Automated cloud systems speed up data analysis, enabling faster responses to maintenance issues and allowing for more frequent survey schedules.
Next Steps
Start by assessing your site’s specific needs. Consider factors like area size, survey frequency, and team collaboration requirements. While smaller projects may work well with manual workflows, larger, multi-team operations benefit greatly from cloud-integrated solutions.
If you’re new to thermal mapping, try it on a smaller section of your site first. This trial run will help you fine-tune equipment choices, flight parameters, and workflows tailored to your industrial environment. Use these insights to build standardized procedures that align with your goals.
For more guidance on advanced thermal mapping techniques, explore our additional resources.
FAQs
What are the main benefits of using thermal drones for inspecting large sites?
Thermal drones offer a quicker, safer, and more accurate way to inspect large sites compared to older, manual methods. They can cover expansive areas up to 90% faster, helping to cut down project timelines and save on operational costs.
One of their biggest perks? They remove the need for inspectors to physically access dangerous or hard-to-reach places, like rooftops, tall structures, or confined spaces. This not only improves safety but also ensures inspectors can focus on analyzing the data rather than risking their well-being. On top of that, thermal drones capture precise data and detect heat variations that aren’t visible to the human eye, offering insights that lead to smarter decision-making.
Thanks to these benefits, thermal drones have become a game-changer for large-scale site inspections, providing both efficiency and reliability.
How do weather conditions affect the accuracy of thermal drone mapping, and when is the best time to fly?
Weather conditions significantly impact the precision of thermal drone mapping. Factors like extreme temperatures, high humidity, strong winds, or precipitation can disrupt sensor performance, resulting in less reliable data. For optimal results, aim to fly during calm, clear weather with mild temperatures between 50°F and 77°F, wind speeds below 17 mph, and humidity levels ranging from 30% to 70%.
The best times for thermal mapping are early mornings or late afternoons. During these periods, temperatures tend to be more stable, and the sun's heat is less likely to interfere with readings. To ensure accurate data and safeguard your drone, steer clear of flying in extreme heat, heavy humidity, or stormy conditions.
What steps are needed to safely and legally operate a thermal drone in controlled airspace?
To operate a thermal drone safely and legally in controlled airspace, you’ll need authorization from the FAA. This is often handled through the LAANC system (Low Altitude Authorization and Notification Capability). In some cases, you may need to apply for a Part 107 waiver. Following FAA rules is essential, including maintaining a visual line-of-sight, staying below 400 feet, and observing any specific safety protocols for the area.
Getting the right training and certification is equally important. It ensures you meet federal and local safety standards, reducing risks and keeping your drone missions compliant with the law.
