Operating thermal drones requires precise preparation to ensure accurate data, safe flights, and compliance with regulations. Here's a quick summary of the key steps to follow:
- Inspect Equipment: Check the drone frame, propellers, thermal camera, batteries, and remote controller for damage or issues.
- Calibrate Sensors: Warm up the thermal camera, set temperature ranges, and adjust emissivity settings for accurate readings.
- Plan Flights: Schedule missions during low solar radiation, avoid wind above 15 mph, and plan paths to reduce sun glare.
- Check Compliance: Ensure FAA registration, airspace authorization, and adherence to local laws.
- Test Systems: Verify GPS signal, firmware updates, obstacle sensors, and failsafe settings like return-to-home altitude.
- Review Weather: Avoid extreme temperatures, precipitation, or fog that could impact safety and thermal imaging quality.
Neglecting these steps can lead to crashes, inaccurate thermal data, and legal issues. Follow this structured approach to minimize risks and maximize mission success.
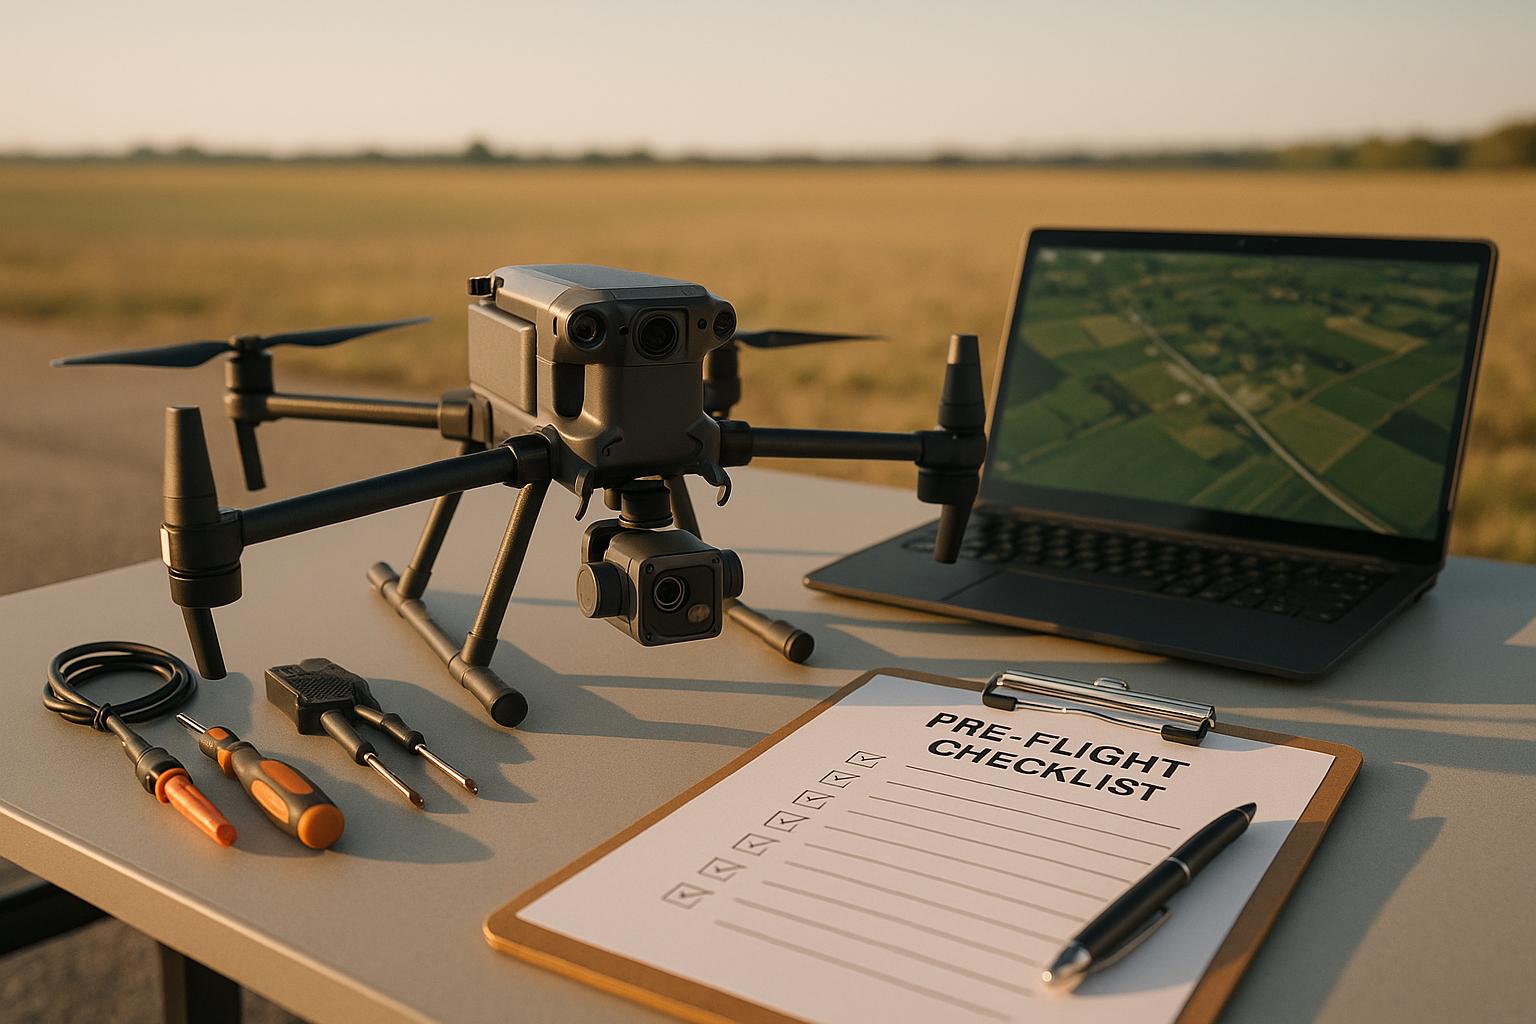
BEFORE YOU FLY - 10 Things - PRE FLIGHT Checklist!
Phase 1: Equipment and Documentation Checks
Before heading out to your flight site, it's crucial to conduct a detailed review of your equipment and paperwork. This step helps ensure a safe and smooth thermal drone mission by catching potential problems while you're still in a controlled environment.
Drone Frame and Component Inspection
Start by carefully examining the drone's airframe for any visible damage like cracks, dents, or stress marks. Check the arms and landing gear to confirm they move freely and are securely attached.
Pay close attention to the propellers. Even minor damage can pose serious risks, including reduced flight stability and compromised gimbal performance. Inspect each blade for nicks, cracks, or other visible issues. The FAA highlights the importance of replacing damaged propellers immediately to avoid accidents.
Ensure the propellers are installed in the correct positions - most drones require specific clockwise and counterclockwise configurations. Once installed, double-check that they’re firmly secured. While inspecting, also look over all linkages and undercarriage components to confirm everything is tight and shows no signs of wear. Keep spare propellers on hand for quick replacements if needed.
Once you've confirmed the hardware is in good shape, move on to inspecting the thermal camera and its components.
Thermal Camera and Accessories Inspection
Next, ensure your thermal imaging system is ready to go. Start by moving the gimbal through its full range of motion to make sure it operates smoothly and without resistance. Any grinding noises or stiffness should be addressed before taking off.
Clean the thermal camera lens with a microfiber cloth to remove dust, smudges, or debris that could affect image quality. Don’t stop there - clean the obstacle avoidance sensors as well, since dirt or obstructions can interfere with flight accuracy. Refer to your drone’s manual for guidance on cleaning and maintaining these components.
Verify that the camera is securely mounted and that all cables are properly connected to prevent disconnections mid-flight. Depending on lighting conditions, you may need to attach a neutral density (ND) filter to reduce glare and ensure accurate thermal readings.
SD card preparation is another essential step. Format the SD card in the drone’s camera to avoid compatibility issues and file corruption. Ensure the card has enough storage for high-resolution thermal data, and keep a backup SD card ready in case of failure or insufficient space. Confirm the camera recognizes the card and displays its available storage on your controller or app.
Check your batteries to ensure they are undamaged, fully charged, and securely installed. For longer missions, bring at least one fully charged spare battery, and consider packing additional spares if needed.
Lastly, make sure your remote controller is fully charged and successfully connects to the drone without errors. Test all buttons, joysticks, and controls to confirm they’re functioning properly.
Verify that your drone’s firmware is up-to-date, as manufacturers often release updates to improve performance and fix bugs. Similarly, update the remote controller firmware and ensure your flight planning app or mission software is compatible with your drone model. Check that any connected devices, like tablets or smartphones, are fully charged and operational.
Once your equipment is ready, it’s time to review your documentation and ensure compliance with regulations.
Documentation and Regulatory Compliance
Having the right paperwork in order is just as important as prepping your gear.
Ensure your FAA drone registration is current and clearly displayed. Keep a copy of your registration handy in case you need to show it during field operations.
Confirm that your insurance coverage is up-to-date and meets the requirements for your specific operation and client agreements. Insurance needs can vary, so double-check that your policy aligns with the type of work you’re doing.
If your mission involves flying in controlled airspace, secure FAA authorization through the Low Altitude Authorization and Notification Capability (LAANC) system before heading out. Be aware of any local drone operation laws, as these can differ by state and municipality.
Check for Temporary Flight Restrictions (TFRs) that might affect your flight area due to events or emergencies. Use apps like AirMap or Aloft to identify no-fly zones and ensure your mission plan adheres to airspace regulations.
For flights during civil twilight or nighttime, verify that your navigation and status lights are operational. According to FAA guidelines (AC 107-2A, Chapter 5), anti-collision lights are mandatory for compliance.
Many professional pilots rely on pre-flight checklists to stay organized and avoid missing critical steps. Whether you prefer printed, laminated versions or digital checklists that can be updated for your specific drone model, these tools help streamline inspections. Some drone apps even include built-in checklists to guide you through the process step-by-step.
Phase 2: Thermal Imaging System Setup
Once your equipment checks are complete, it’s time to set up your thermal imaging system to ensure accurate and reliable data collection. This phase involves fine-tuning technical settings, calibrating your thermal camera, planning effective flight paths, and organizing your data logging process.
Thermal Camera Calibration and Configuration
Setting up a thermal camera requires more precision than a standard RGB camera. While RGB cameras typically need adjustments like focus and white balance, thermal cameras demand temperature-specific calibration to deliver accurate results.
Start by letting the thermal sensor warm up for 10–15 minutes to reach a stable operating condition. Use flat-field correction to eliminate sensor artifacts - most modern thermal cameras handle this automatically, but it’s worth confirming that the process completes successfully before you proceed.
Next, select the correct temperature range for your mission. For building inspections, aim for ranges like 32°F to 104°F in cooler weather or 68°F to 122°F in warmer conditions. This helps capture issues like insulation gaps or air leaks. If you’re inspecting electrical systems, use a narrower range, such as 50°F to 150°F, to highlight overheating components. Adjust the emissivity settings based on your target materials: common building materials like concrete or drywall usually require an emissivity value of around 0.95, while painted metal or electrical components may need values between 0.85 and 0.95. This ensures the camera accurately measures surface temperatures rather than reflected heat.
Test the camera’s thermal responsiveness by focusing on objects with known temperature differences. The display should clearly show these variations. If it doesn’t, or if readings seem off, address the issue before proceeding with your flight. Allow the camera to operate for an additional 2–3 minutes to confirm that its readings have fully stabilized before takeoff.
Flight Path Planning for Thermal Data Quality
Careful flight path planning is essential for collecting high-quality thermal data. Schedule your flights during periods of low solar radiation - early morning or late afternoon - to reduce interference from thermal noise.
Keep the gimbal pitch between 45° and 60° for optimal sensor angles. For building inspections, stick to parallel flight lines at a consistent distance from the structure. Avoid flight paths that place the sun directly in the camera’s view, as glare can distort thermal readings.
Wind conditions also play a role in thermal accuracy. Winds exceeding 15 mph can cause convective cooling, which may obscure thermal anomalies. Maintain a steady altitude and speed to ensure uniform thermal resolution. Using thermal flight planning software can simplify this process by generating precise flight paths that maximize sensor coverage.
Data Logging and Storage Setup
Accurate data logging and sufficient storage are critical for successful thermal imaging missions. Storage needs vary depending on flight duration, camera resolution, and frame rate. For example, a 640×512 thermal camera can generate 50–100 MB of data per minute, amounting to 1–2 GB over a 20-minute flight. If you’re capturing RGB imagery alongside thermal data, your storage requirements could double.
Plan for 64–128 GB of onboard storage per day and bring additional backup storage of the same capacity. Ensure your thermal camera records GPS coordinates with each frame - this is essential for georeferencing and creating thermal orthomosaics. Synchronize your drone’s internal clock with a reliable time source, such as GPS or network time, to maintain accurate timestamps, especially if you’re integrating data from multiple sensors.
Configure your camera to log key flight parameters, including altitude, gimbal angle, heading, and the chosen temperature range. Use a standardized file naming convention, like "20250603_BuildingInspection_MainSt_001.tiff", to keep your data organized. Document calibration settings, emissivity values, and temperature ranges in a flight log. These details are invaluable for post-flight analysis and compliance.
If you’re using platforms like Anvil Labs for data processing, confirm that your thermal file formats are compatible with their system before the flight. Anvil Labs supports various data types, including thermal imagery, ensuring smooth integration during analysis.
Finally, conduct a quick 30-second test recording to verify that your thermal data files are being generated correctly and are the expected size. Identifying potential recording issues early can save you from losing valuable data during your mission.
Phase 3: Environmental and Airspace Review
Once your thermal imaging system is set up, it’s time to focus on external factors that could disrupt your mission. Environmental conditions and airspace restrictions can either ground your flight or create hazards mid-mission. This step ensures you’re prepared for weather challenges, regulatory requirements, and potential site dangers, complementing your earlier equipment checks for a secure thermal flight.
Weather and Environmental Conditions Check
Weather isn’t just a minor consideration - it directly impacts flight safety and the quality of your thermal data. It’s essential to monitor weather conditions both overnight and again right before takeoff to catch any last-minute changes.
Wind speed is a critical factor. Most thermal drones should not fly in gusts exceeding 12.4 mph (20 km/h). Strong winds can make it difficult to control the drone and can degrade the quality of your thermal readings. Keep an eye on wind conditions throughout the entire flight window, not just at launch.
Temperature extremes also play a significant role. Freezing temperatures can affect drone performance, while extreme heat can reduce battery life and distort sensor readings. For thermal imaging, recent weather events - like rain-cooled surfaces or sun-heated metal - can skew thermal signatures, leading to inaccurate data.
Avoid flying in precipitation, fog, or high humidity. These conditions not only compromise flight safety but also interfere with thermal imaging by obscuring heat signatures. Since weather can change quickly, double-check conditions right before takeoff. If you encounter high winds, shifting clouds, extreme temperatures, or precipitation, it’s better to reschedule the flight.
Airspace Restrictions and Obstacle Identification
Staying compliant with airspace regulations isn’t just about avoiding fines - it’s about ensuring safety. Before heading to your flight site, check for airspace restrictions and secure any required authorizations through tools like LAANC (Low Altitude Authorization and Notification Capability). Use in-app systems to confirm restrictions specific to your location, and keep authorization reference numbers handy during your mission.
Steer clear of no-fly zones, such as military installations, airports, stadiums, crowded areas, or locations near emergency response activities. Regulations can vary by state and region, so it’s crucial to research local drone laws beforehand.
Once on-site, conduct a thorough walk around the area to spot obstacles like buildings, trees, and power lines that could interfere with your flight. For thermal imaging, also take note of potential thermal interference sources - such as running machinery, heat-emitting objects, or reflective surfaces - that might generate misleading readings.
Be mindful of electromagnetic interference from power lines, radio towers, or industrial equipment, as these can disrupt GPS signals. If interference is detected, adjust your flight plan or relocate your takeoff point to maintain safety.
Plan and mark safe landing zones before takeoff. These emergency landing spots are essential in case of equipment failure, sudden weather shifts, or low battery alerts. Make sure these zones are clear of obstacles and positioned away from people or property.
After confirming airspace compliance, shift your focus to ensuring the safety of everyone on-site.
Personnel and Site Safety Assessment
Safety isn’t just about the drone - it’s about protecting the people around it. Start by scanning the takeoff area and flight path, then establish a safety perimeter to keep unauthorized personnel out. This perimeter should account for the drone’s flight path, emergency landing zones, and the thermal camera’s field of view. Make sure everyone on-site understands and respects these boundaries.
Before launching, notify your crew and anyone nearby that the drone is about to take off. This announcement ensures everyone is alert and aware of the operation. Assign a crew member to monitor the safety perimeter throughout the flight.
If you’re flying near active work sites, coordinate with site supervisors to avoid disrupting ongoing activities. Make sure workers are aware of the flight boundaries and stay clear during data collection. For public areas or events, delay your flight until the space is free of crowds - never fly over stadiums, populated areas, or large gatherings.
Document any obstacles, weather conditions, and safety boundaries you identify. This record not only ensures compliance but also provides a useful reference in case of incidents or near-misses. To streamline this process, consider using tools like Anvil Labs for secure documentation and sharing of your assessments.
Once you’ve confirmed that environmental factors are safe and everyone on-site is informed, proceed with your pre-flight system tests. If your final check uncovers new hazards or unsafe conditions, postpone or cancel the flight and revise your mission plan as needed.
sbb-itb-ac6e058
Phase 4: Pre-Flight System Tests
After confirming environmental conditions and implementing safety protocols, it’s time to ensure your thermal drone’s technical systems are ready for takeoff. These checks are crucial for catching potential issues before they escalate into mid-air complications. Think of this step as your final safeguard - a detailed review to confirm every component is operating correctly.
Drone and Remote Controller System Check
Building on earlier inspections, this phase involves powering on your drone and remote controller to verify everything is in working order. Start by ensuring a strong GPS signal - aim for at least 10–12 satellites with a DOP (Dilution of Precision) below 2.5 for reliable accuracy. Weak GPS signals can jeopardize autonomous flights and thermal data precision.
Next, calibrate the compass. Perform this step away from magnetic interference sources like vehicles, power lines, or metal structures. Use your flight app to initiate calibration and follow the on-screen instructions, which typically involve rotating the drone in a figure-eight pattern both horizontally and vertically. For thermal drones, keep in mind the added weight and electromagnetic signature of the thermal camera. Record the calibration results in your flight log to monitor any changes over time.
Check the battery voltage and cell balance according to the manufacturer’s guidelines. Warning signs of battery problems include swelling, reduced flight time, voltage drops under load, or incomplete charging. Always ensure the remote controller battery is fully charged before each session.
Don’t overlook firmware updates. Use the manufacturer’s website or flight app to confirm that both the drone and controller have the latest updates installed. These updates often include safety improvements, better GPS performance, enhanced gimbal stability, and fixes that improve thermal imaging quality. For thermal drones, updates may also improve sensor calibration and radiometric accuracy. However, avoid updating firmware right before a critical mission - schedule updates during maintenance periods and conduct test flights afterward. Document firmware versions in your flight log for troubleshooting and regulatory purposes.
Test the remote controller’s connection strength using the flight app. Conduct a range test in an open area by gradually increasing the distance between the drone and the controller while monitoring signal strength. Ensure all buttons and joysticks respond smoothly and accurately.
Evaluate the obstacle avoidance sensors by moving your hand in front of each sensor (forward, backward, left, right, and downward) while the drone is powered on but not armed. The sensors should provide clear visual or auditory feedback when detecting obstacles.
For the thermal camera, confirm that the live thermal feed appears correctly in the flight app. Check the camera’s internal temperature calibration, as many thermal cameras require periodic adjustments for accurate readings. If your thermal camera has a shutter or calibration mechanism, trigger a manual calibration cycle during the pre-flight check to ensure proper functionality.
Once these hardware and firmware checks are complete, move on to configuring failsafe measures.
Failsafe and Return-to-Home Configuration
Failsafe settings act as a safety net if something goes wrong mid-flight. Proper configuration can protect your drone and ensure mission safety.
Set the signal loss failsafe to activate after 3 to 5 seconds of lost connection. Depending on your environment, you can configure the drone to either return to home or land in place. For flights over water or challenging terrain, landing in place might be the safer option.
Adjust the return-to-home altitude to clear all obstacles in the flight area, including trees, buildings, and communication towers. Identify the tallest obstacle within 100 meters of your home point, then add a safety buffer of 30 to 50 feet. If the terrain varies significantly, consult topographic maps or flight planning software to account for elevation changes. Keep in mind that the thermal camera’s weight can affect climb performance, so ensure the drone can safely reach the set altitude within the battery’s capacity.
Configure the low battery failsafe to trigger when the battery reaches 20–25% capacity, leaving enough power for a safe return or landing. Plan missions to conclude with at least 30% battery remaining to allow for emergencies.
Test these failsafe settings during a hover test by simulating trigger conditions. For example, manually activate the return-to-home function from a low altitude to confirm the drone responds correctly. Pilots should also practice interrupting automated flights and canceling return-to-home commands in case of emergencies.
With failsafes confirmed, review your mission settings in the flight app.
Flight App and Mission Settings Review
Before launching your thermal imaging mission, double-check all parameters in your flight planning app. Set the flight speed - typically between 5 and 15 mph - to ensure thorough thermal data collection. Verify that the altitude matches your ground sample distance requirements and the specifications of your thermal camera.
Pay attention to the gimbal pitch angle. Plan your flight path to avoid sun glare and maintain a consistent angle for accurate thermal readings. Also, ensure waypoint spacing provides sufficient image overlap - usually 60–80% for thermal mosaicking - and confirm the mission is planned to conclude with at least 30% battery remaining.
Set the flight mode to automated waypoint mode for consistent data collection. Check that the thermal camera is configured to either record continuously or capture at specific intervals. Verify that all necessary metadata is being logged.
Review the mission plan in the app’s map view to identify obstacles, no-fly zones, or airspace restrictions that may have been overlooked. Confirm the video transmission link is functioning by ensuring the live thermal feed displays on your controller or connected mobile device with minimal delay. If using a mobile device, ensure it has enough battery life for the mission and that the flight app is updated.
Once all these checks are completed and verified, you’re ready to proceed to the final safety check and takeoff sequence. Address any issues identified during pre-flight verification - never compromise on safety.
Phase 5: Final Safety Check and Takeoff
You've run through your system tests and confirmed all technical components are good to go. Now it's time for the last round of checks before launching your thermal drone. This step is all about ensuring safety, testing flight performance, and maintaining clear communication with everyone involved.
Emergency Procedures and Final Inspection
With your technical systems cleared, it's essential to conduct one more safety review to confirm no new risks have cropped up. Before takeoff, mentally walk through your emergency protocols. Be ready to interrupt an automated flight, cancel a return-to-home command, and, if necessary, disarm the motors mid-air. Practice these steps until they feel second nature.
For thermal operations, always have a plan for manual override in case the thermal data becomes unreliable or hazardous heat signatures emerge. Also, identify safe landing zones ahead of time.
Do a final 360-degree visual scan of the takeoff area and the entire planned flight path. This ensures no unexpected obstacles, people, or vehicles have appeared since your last check. This step is especially crucial in dynamic environments like industrial or construction sites where thermal drones are often used.
Pay extra attention to potential hazards specific to thermal drones. Overhead power lines and electrical infrastructure can interfere with thermal readings and increase collision risks. Reflective surfaces like bodies of water, structures with varying heat signatures, and direct sunlight causing glare can also complicate your mission.
Check the weather one more time to ensure conditions haven’t changed. For thermal drones, additional concerns include intense sunlight causing glare, rapid temperature shifts affecting calibration, fog or moisture on the lens, and thermal inversions that could distort your imaging.
Finally, verify your thermal camera settings. Make sure the camera is powered on and showing a live feed, resolution and frame rate match your mission needs, and data logging is active with enough memory space for the entire mission. Confirm the gimbal pitch angle is set correctly, and any filters or settings (like temperature range adjustments) are properly configured.
If you're using a platform like Anvil Labs for processing and hosting thermal data, double-check that your data format aligns with their requirements. Anvil Labs supports various data types and offers secure sharing and viewing options to simplify post-flight workflows.
Lastly, inspect the battery. Ensure it's fully charged, seated correctly, and will finish the mission with at least 30% charge remaining.
Hover Test and Control Verification
The hover test is your last chance to confirm everything is in working order before committing to the full flight.
- Hover the drone at 5–6 feet for 30 seconds to check stability and control.
- Confirm the gimbal keeps the thermal camera steady and free of vibrations.
- Verify telemetry, battery readings, and motor responses are as expected.
For thermal drones, ensure the thermal camera feed is displaying correctly and the gimbal responds to pitch adjustments. Listen for any unusual sounds that might indicate issues like propeller damage or loose parts. Keep in mind that the added weight of the thermal camera could affect flight behavior, so pay attention to how the drone handles.
If you notice vibrations, loose components, or anything unusual, land the drone immediately and investigate before proceeding. Never ignore warning signs during this critical step.
Test each control axis - pitch, roll, and yaw - to ensure smooth and predictable responses. Check that the gimbal maintains the thermal camera’s orientation throughout these movements. Also, confirm that your controller’s signal strength is strong and stable during the hover test.
Once everything checks out, notify your team that you're ready for launch.
Crew Communication and Launch
Clearly announce the takeoff to everyone on-site. Use a standard verbal protocol like "Drone launching in 10 seconds" or hand signals if the environment is noisy.
Before launch, ensure there are no error messages on your controller and that the drone is in "ready to fly" mode. Confirm the return-to-home altitude is set at least 50 feet above the tallest obstacle in your flight area, with an added safety buffer.
For thermal imaging missions, double-check that the thermal camera is recording, the data format is compatible with your processing platform, and the gimbal is in the correct starting position.
Once all checks are complete and your crew confirms the area is clear, proceed with takeoff. Keep the drone in sight during the initial ascent and monitor telemetry data closely. The first few seconds after takeoff are critical - be ready to abort and land immediately if something goes wrong.
After reaching your starting altitude, pause briefly to confirm everything is stable before switching to automated flight. This ensures a smooth transition and sets your thermal imaging mission up for success.
Conclusion
A thorough pre-flight checklist is your best defense against accidents, data loss, and regulatory setbacks. When it comes to thermal drone operations, the stakes are even higher. Thermal cameras bring their own set of challenges, like calibration drift, sensitivity to sun glare, and higher battery consumption due to the added payload weight.
By sticking to a systematic checklist, you can avoid common pitfalls such as poor camera calibration, incorrect gimbal angles, inadequate battery planning for heavier loads, and forgetting to confirm airspace clearance. Professional drone pilots who follow structured protocols report fewer in-flight issues and higher mission success rates - making this practice a must, whether you're flying for business or just for fun.
The five-phase checklist covered in this guide - spanning equipment inspection, thermal system setup, environmental checks, system tests, and final safety reviews - ensures every critical safety and operational step has been addressed before takeoff. By the time your drone leaves the ground, you’ve already mitigated potential risks.
These practices do more than just ensure safety - they also safeguard the quality of your data. Reliable thermal imagery is crucial for post-flight analysis, especially in industrial applications where decisions hinge on accurate thermal data. Verifying parameters like emissivity settings, temperature calibration, and flight path planning before launch helps prevent the frustration of landing with unusable thermal images.
After the flight, Anvil Labs takes data management to the next level. Their platform integrates thermal imagery with 3D models, LiDAR, and orthomosaics, offering tools for comprehensive data processing, secure sharing, and spatial analysis. With AI-powered features, it can detect flaws that might escape manual reviews, while automated reporting simplifies presenting insights to stakeholders. Users have noted inspections up to 75% faster and a 30% increase in defect detection rates, proving the value of pairing thermal operations with a robust data platform.
FAQs
How can I ensure my thermal drone's sensors are properly calibrated before a flight?
Before taking off with your thermal drone, it's important to ensure the sensors are properly calibrated for accurate performance. Start by powering on the drone and letting it warm up for a few minutes. This brief wait allows the internal components to stabilize, which can significantly improve the precision of the sensors.
Once the drone is ready, use its built-in settings or software to perform a calibration. Be sure to place the drone on a flat, stable surface during this step to avoid any interference. If your drone requires manual calibration, carefully follow the manufacturer’s guidelines to get it right.
After calibration, double-check everything by capturing a test image or data sample. This quick review helps confirm that the sensors are working as they should. Regularly calibrating your drone is essential for maintaining reliable thermal imaging and ensuring accurate data collection.
What steps should I take to plan a flight path that reduces thermal noise and ensures accurate thermal data collection?
To capture high-quality thermal data and minimize interference from thermal noise, careful planning of your flight path is essential. Start by factoring in the environmental conditions. It's best to avoid flying during times of rapid temperature fluctuations, like sunrise or sunset, as these can lead to inconsistent thermal readings. Midday is often the optimal time for flights, as temperature differences tend to be more stable.
Maintaining a smooth and steady flight path is also key. Avoid abrupt movements, as these can distort thermal imagery. Using flight planning software to pre-program your route can help ensure precision and efficiency.
Before takeoff, make sure to thoroughly inspect your drone and thermal camera. Confirm that all equipment is functioning as it should, and don’t skip regular calibration of the thermal sensor - this step is crucial for dependable data. With thoughtful preparation and attention to detail, you’ll be set to collect accurate thermal imagery for your project.
What failsafe settings should I configure to keep my thermal drone safe during unexpected mid-flight issues?
To keep your thermal drone safe during unexpected mid-flight challenges, setting up failsafe features is a must. Start with the Return-to-Home (RTH) feature. This function ensures your drone automatically flies back to its takeoff point if it loses signal or the battery gets too low. Always double-check that the home point is correctly set before launching.
It’s also wise to establish altitude limits for both the maximum flight height and the RTH function. This helps your drone steer clear of obstacles like trees or buildings. Another important step is configuring a low-battery warning threshold, so you’ll have enough time to land safely before the battery is completely drained. To stay prepared, test these settings regularly during your practice flights to confirm they’re working properly.
