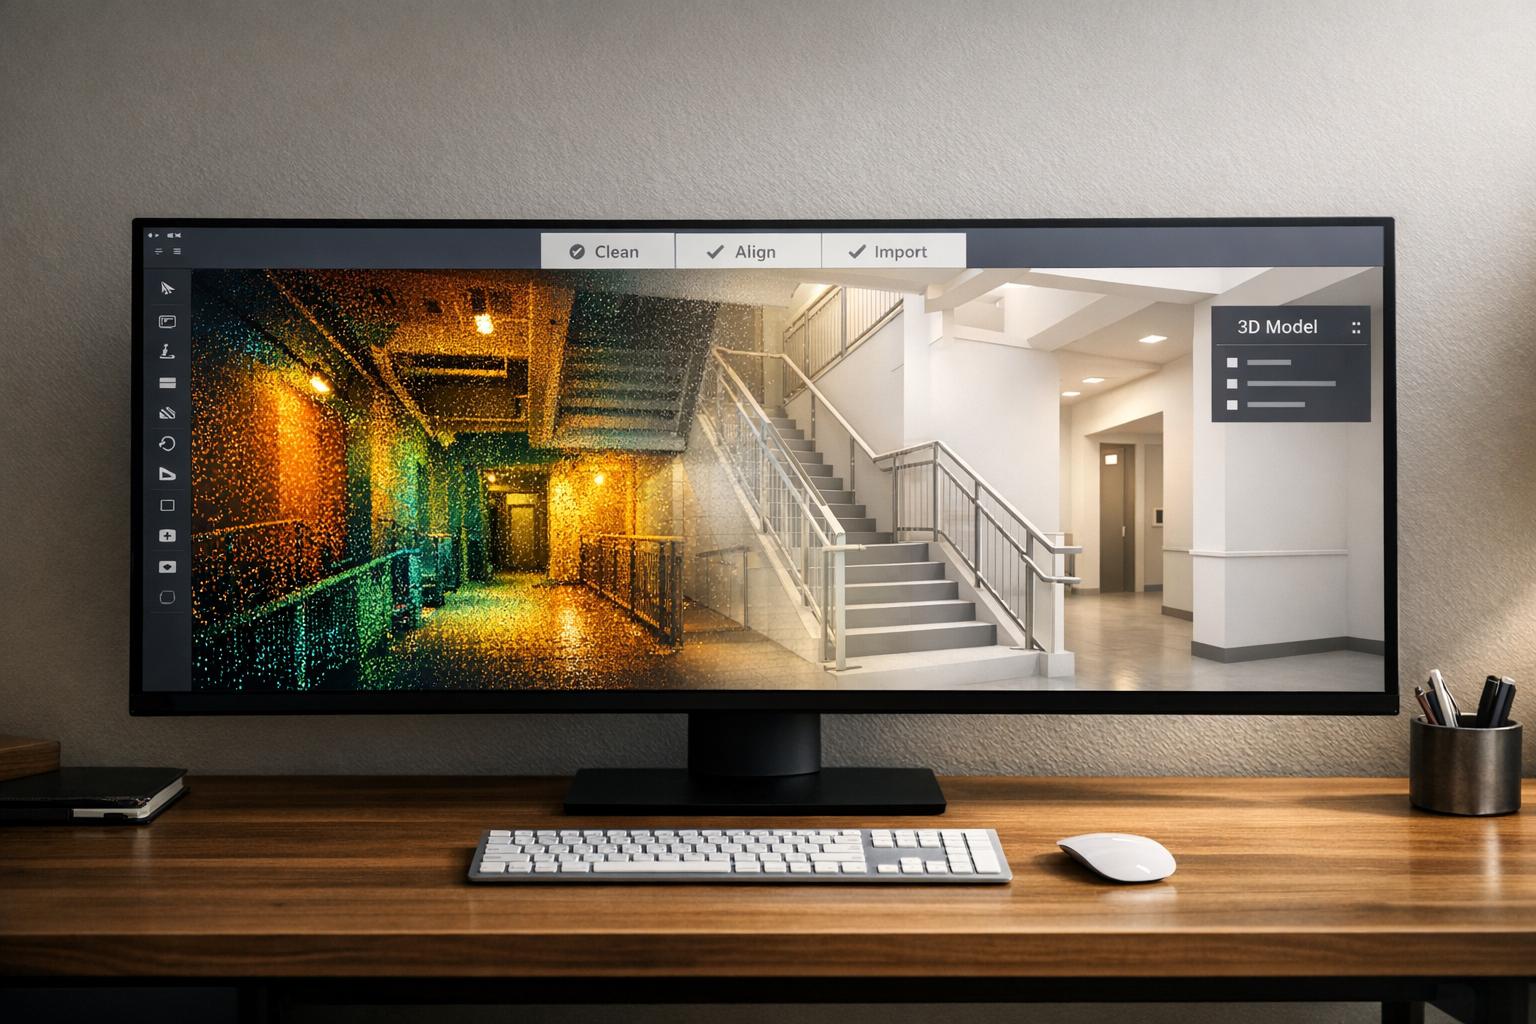
LiDAR data, when paired with 3D modeling software, transforms how industrial sites are documented. Here's the process in a nutshell:
- LiDAR Basics: LiDAR uses laser pulses to create detailed point clouds of environments, offering depth and spatial accuracy.
- Benefits: It reduces manual measuring, improves precision in design overlays, and minimizes errors during construction.
- Preparation: Raw LiDAR data is cleaned, aligned, and converted (e.g., to LAS format) for compatibility with modeling tools.
- Integration: Tools like Autodesk ReCap and Revit help import and use LiDAR data for BIM workflows and architectural modeling.
- Enhancements: Combining LiDAR with photogrammetry adds structural details and textures to 3D models.
- Applications: From creating digital twins for maintenance to generating DEMs for GIS, the possibilities are vast.
Key Takeaway: Properly processed LiDAR data ensures accurate, efficient, and collaborative site documentation, aiding in design, planning, and asset management.

LiDAR to 3D Model Integration Workflow: 5-Step Process
The FUTURE of 3D Modeling? Using Lidar Scanning for 3D!
sbb-itb-ac6e058
Preparing LiDAR Data for 3D Modeling
To create accurate 3D models, raw LiDAR data from drone flights needs to go through a thorough preparation process. This involves cleaning, aligning, and converting the data into formats compatible with modeling software. By addressing noise, aligning scans, and ensuring proper file formatting, you can achieve precise and reliable results for site documentation.
Data Collection and Noise Removal
LiDAR data often includes noise caused by factors like atmospheric interference, water reflections, or overlapping scans. Instead of deleting this unwanted data, you can classify and flag it for easier management. For example, points can be labeled as "Withheld" or "Overlap." Specific noise classes like Low Point (Class 7) or High Noise (Class 18) are also used. Ground points are typically categorized as Class 2, while buildings fall under Class 6.
Registering and Aligning Scans
Large sites often require multiple drone flights, each generating its own point cloud. These separate scans must be registered and aligned into a single dataset. This is done by matching overlapping areas using shared reference points or GPS data. For projects with numerous scans, organizing them into a LAS dataset (.lasd) can streamline the process, allowing multiple files to be treated as one unit and improving software performance.
Format Conversion
LiDAR data is typically converted into the LAS format for compatibility with most modeling software. LAS, maintained by the American Society for Photogrammetry and Remote Sensing (ASPRS), is the industry standard and stores a wealth of metadata, including x, y, z coordinates, GPS timestamps, intensity values, return numbers, scan angles, and even RGB color information. For more efficient storage and transfer, the compressed LAZ format can be used, though some software may require converting LAZ files back to LAS for processing.
| Format | Type | Optimal Use |
|---|---|---|
| LAS | Binary | Standard for data exchange and 3D modeling |
| LAZ | Compressed Binary | Ideal for storage and file sharing |
| ASCII | Text | Legacy format; less suited for modern, high-density datasets |
The latest LAS version (1.4) significantly expands classification capabilities, supporting up to 255 codes compared to the 32 available in earlier versions (1.1 to 1.3). This broader classification range makes it easier to categorize different site features. By properly cleaning, aligning, and formatting your LiDAR data, you ensure a seamless transition into 3D modeling software, setting the stage for accurate and efficient site documentation.
Importing LiDAR Data into 3D Modeling Software
To bring cleaned and formatted LiDAR data into your 3D modeling software, follow a workflow that includes indexing, converting, and importing.
Autodesk ReCap is often the first step for Autodesk-based workflows. It converts raw LiDAR formats like .las or .laz into .rcp (Project) or .rcs (Scan) files, which are compatible with other Autodesk applications. In ReCap, start by selecting New Project and then Import Point Cloud. Load your LiDAR files, click Advanced to set the coordinate system to match your EPSG value, and proceed with Import Files and Index Scans. Once indexing is complete, select Launch Project to save your .rcp file.
For Autodesk Revit, you’ll need to import the .rcp file generated in ReCap. Navigate to the Insert tab in Revit, choose Point Cloud, and select your .rcp or .rcs file. Use either "Auto - Center to Center" or "Auto - Origin to Origin" for placement, then click Open. If certain elements appear missing, check the Visibility/Graphic Overrides settings and ensure the Point Clouds tab is activated. Always verify the coordinate system before importing to avoid misalignment issues.
Before importing, it's crucial to confirm the coordinate system of your LiDAR data. Open the raw .las or .laz file header in a text editor to double-check. Misaligned coordinates can disrupt your model significantly. For large datasets that may slow down performance, use ReCap's "Automatic Ground Classification" feature. This tool separates terrain from vegetation or structures, making it easier to export only the relevant data to your modeling software.
| Software | Input Formats Supported | Primary Purpose in Workflow |
|---|---|---|
| Autodesk ReCap | .las, .laz, .xyz, .e57, .txt | Data indexing, coordinate adjustments, and noise removal |
| Autodesk Revit | .rcp, .rcs | Architectural modeling and BIM integration with point clouds |
| Civil 3D | .rcp, .rcs | Surface creation (DEM/TIN) and infrastructure design |
Processing and Enhancing LiDAR Data in 3D Environments
Combining LiDAR with Photogrammetric Data
After importing your LiDAR data, you can improve it by merging it with photogrammetric models. LiDAR excels at capturing precise structural details, while photogrammetry adds rich textures. Together, they create a 3D model that’s both accurate and visually detailed.
Tools like Reality Capture help align these datasets by finding shared features - edges, corners, and surfaces - across both. The software analyzes your photos to identify points visible in multiple images, forming a sparse point cloud. This cloud is then matched to the shapes in your LiDAR scans. To get the best results, make sure your photographic data overlaps significantly with the scanned LiDAR area.
For consistency, capture both datasets at the same time to avoid differences in lighting or environmental conditions. Aim for at least 60% overlap between images for smooth reconstruction. If certain areas need high-resolution textures, take additional photos of those spots. When importing LiDAR into your 3D environment, confirm the correct data type - use "terrestrial" for terrestrial laser scans to ensure proper alignment. By combining these datasets, you’ll achieve a model with enhanced structural accuracy and visual detail. The next step is organizing the raw point clouds for modeling.
Structuring and Transforming Data
Raw LiDAR point clouds are essentially unorganized clusters of points, which need to be structured for effective use in modeling. Use the RELI Framework to guide this process: map out a detailed plan for full coverage, account for environmental influences, address challenges like transparent objects, and focus on areas requiring higher resolution. Proper organization ensures smoother workflows and better results in your 3D environment.
Using Anvil Labs for LiDAR and 3D Model Integration
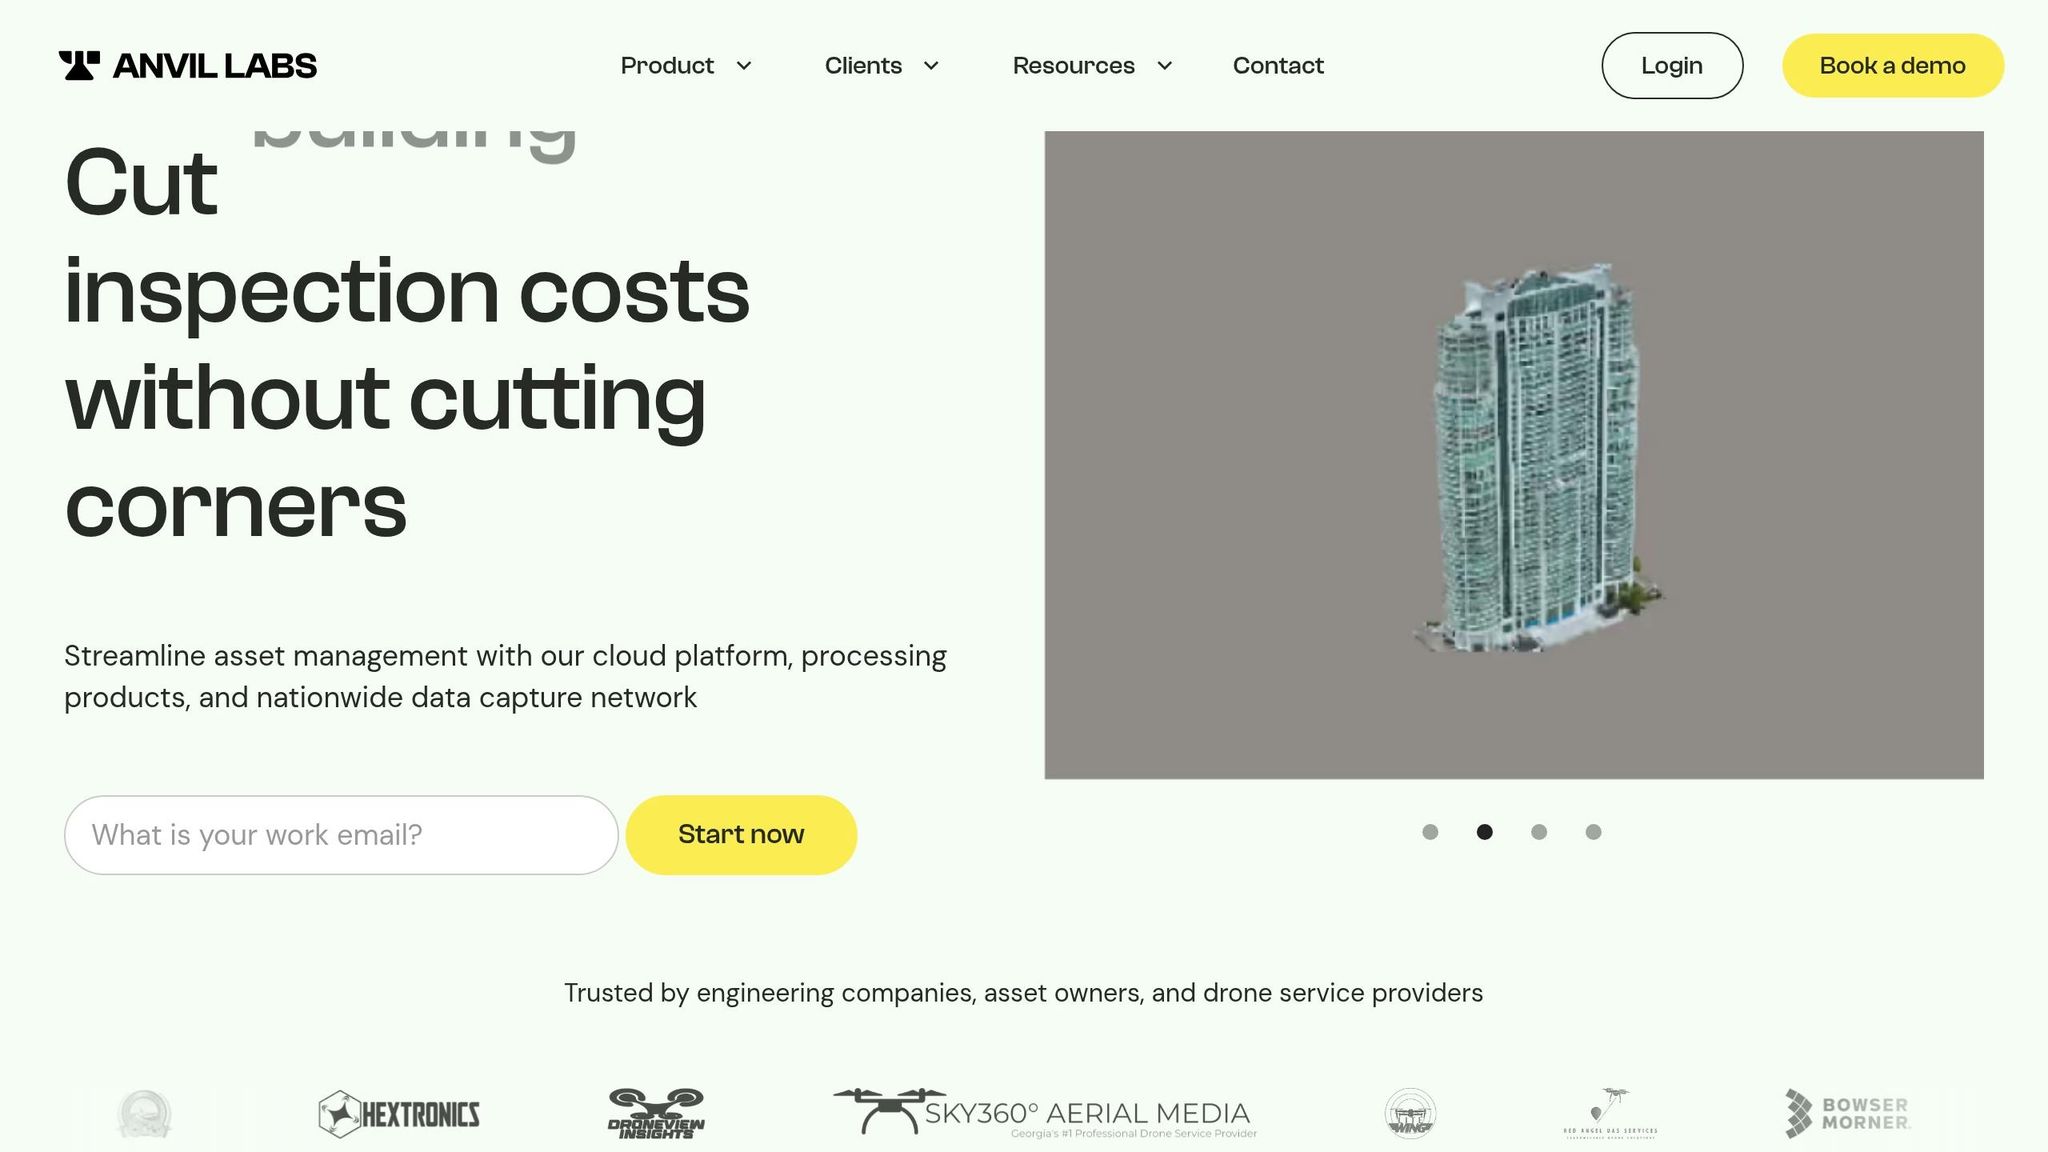
Once your LiDAR data is structured, Anvil Labs simplifies the process of integrating it into 3D models for precise site documentation. The platform handles the heavy lifting - managing, processing, and sharing large datasets - without the need for costly local hardware. It also promotes smoother team collaboration.
With the prepared data, the platform's Asset Viewer allows you to view and interact with LiDAR point clouds and 3D models directly in your web browser. No specialized software is required. You can combine LiDAR with photogrammetry, thermal imagery, 360° photos, and orthomosaics to create detailed digital twins of industrial sites. This hybrid approach offers the structural accuracy of LiDAR and the visual richness of photogrammetry, all in one environment, for thorough site documentation.
When it comes to annotation and measurement, the platform includes tools that let you mark up point clouds and take precise measurements right within the system. Additionally, role-based access control ensures that sensitive site data is secure by tailoring access levels for different stakeholders. This feature is particularly helpful in projects like bridge inspections, pipeline monitoring, or construction management, where various team members need different levels of access.
The platform also enhances data processing by converting LAZ files to LAS, filtering out noise, and supporting AI-driven analysis to identify anomalies. It integrates seamlessly with geospatial tools like Cesium and connects with AI systems for automated anomaly detection in your 3D environments. This streamlined process ensures your models are ready for export, setting the stage for the next steps in your project workflow.
Exporting and Using Integrated 3D Models
Final Mesh Generation and Export Options
When exporting LiDAR data, it's essential to choose a format that aligns with your intended application, whether it's CAD, BIM, or GIS. For CAD and BIM workflows, refined point clouds can be exported as .rcp or E57 files using tools like Autodesk ReCap. These files are compatible with platforms like Revit or ArchiCAD and can be enhanced with plugins such as CloudWorx, Pointsense, or Undet for seamless integration.
For GIS purposes, platforms like ArcGIS can directly process LAS datasets, enabling the creation of Digital Elevation Models (DEMs), building footprints, and 3D multipatch models from your LiDAR data. Depending on your needs, you can export:
- Point clouds as LAS for analysis
- Meshes as OBJ or STL for visualization
- IFC files for BIM-related handoffs
After exporting, always double-check the model's accuracy to ensure it meets the requirements for site documentation.
Verifying Accuracy in Site Documentation
Before relying on your 3D models for site documentation, verifying their accuracy is a must. For construction projects, refined LiDAR point clouds exported as .rcp files from ReCap can be imported into Revit, allowing architects to overlay new designs onto existing structures with exceptional precision - often within 0.4 inches (1 cm). This process typically includes BIM coordination reviews, where the model is compared to as-built scans. Such reviews can significantly reduce rework, cutting it down by up to 30%, thanks to precise site documentation.
To ensure accuracy, compare critical dimensions from the model against field measurements. Focus on key features like structural elements, equipment placement, or terrain elevations. This step is particularly important for industrial projects, as it ensures your digital twin mirrors real-world conditions before moving forward with design decisions or modifications.
Conclusion
From gathering raw data to the final export, every step in the LiDAR integration process plays a role in creating precise site documentation. Combining LiDAR data with 3D modeling software transforms how industrial sites are documented. This workflow - spanning data collection, noise filtering, registration, format conversion, and export - streamlines accuracy, minimizes manual effort, and unifies datasets for better collaboration, visualization, and risk management.
The key to success lies in selecting the right workflows and tools. Whether you’re exporting refined point cloud data for BIM coordination or producing Digital Elevation Models (DEMs) for GIS analysis, this integration ensures 3D models mirror real-world conditions. Such precision is critical for tasks like calculating mining volumes, inspecting pipelines, and monitoring bridges.
Anvil Labs simplifies this process with a cloud-based platform designed to handle the heavy computational demands of LiDAR data processing. The platform supports multiple data types - such as LiDAR point clouds, thermal imagery, and orthomosaics - and offers secure sharing with role-based access controls. This allows teams to manage large datasets, integrate LiDAR with photogrammetric data, and share 3D models seamlessly across stakeholders, eliminating the hassle of manual format conversions or compatibility issues. The result? Detailed, actionable models that support every phase of project planning.
For industrial site documentation, the advantages are undeniable: quicker project delivery, fewer errors, and continuously updated digital twins that guide critical decisions. By adopting automated, cloud-based LiDAR workflows, teams can ensure reliable, high-quality documentation that underpins safer and more efficient operations.
FAQs
How do I choose the right coordinate system (EPSG) for my LiDAR scan?
When choosing the right EPSG code for your LiDAR scan, think about your project’s goals and how the data will work with other datasets. Commonly used systems include local coordinates, geographic coordinates (latitude, longitude, ellipsoid height), or geocentric coordinates.
For projects in the U.S., using state plane systems can improve local accuracy. Be sure the coordinate system matches your project’s location and data needs to ensure smooth integration and analysis.
What’s the best way to keep huge point clouds fast in ReCap/Revit?
To ensure smooth performance with large point clouds in ReCap and Revit, it’s important to focus on file size and system efficiency. Start by reducing point cloud file sizes before importing them into Revit. You can also import only the sections you need, avoiding unnecessary data that could slow things down.
Adjusting the level of detail can make a big difference, as working with excessively detailed models can strain your system. Additionally, make sure your hardware meets the recommended specifications for handling large datasets. Don’t forget to keep your drivers up to date, as this can help maintain optimal performance.
When should I combine LiDAR with photogrammetry for a digital twin?
Combine LiDAR and photogrammetry for projects that demand both precise measurements in challenging spaces - such as dense forests or underground environments - and highly detailed visual textures. This combination boosts the depth of data, accelerates workflows, and optimizes costs while delivering accurate records ideal for creating digital twins.
