Accurate drone mapping starts with solid pre-flight preparation. Missing even small steps can lead to wasted time, faulty data, or equipment issues. Here's a quick breakdown of the essential pre-flight steps to ensure your mapping projects deliver precise, reliable results:
- Calculate Ground Sampling Distance (GSD): Determines image resolution and mapping accuracy.
- Place Ground Control Points (GCPs): Distribute evenly to tie maps to real-world coordinates.
- Extend Flight Coverage: Add a 15–20% buffer around your target area to minimize edge distortion.
- Ensure Image Overlap: Maintain 75–85% overlap depending on terrain and features.
- Divide Long Flights: Break linear surveys into overlapping sections for better data and compliance.
- Check Airspace Rules: Verify permissions and avoid restricted zones using FAA-approved tools.
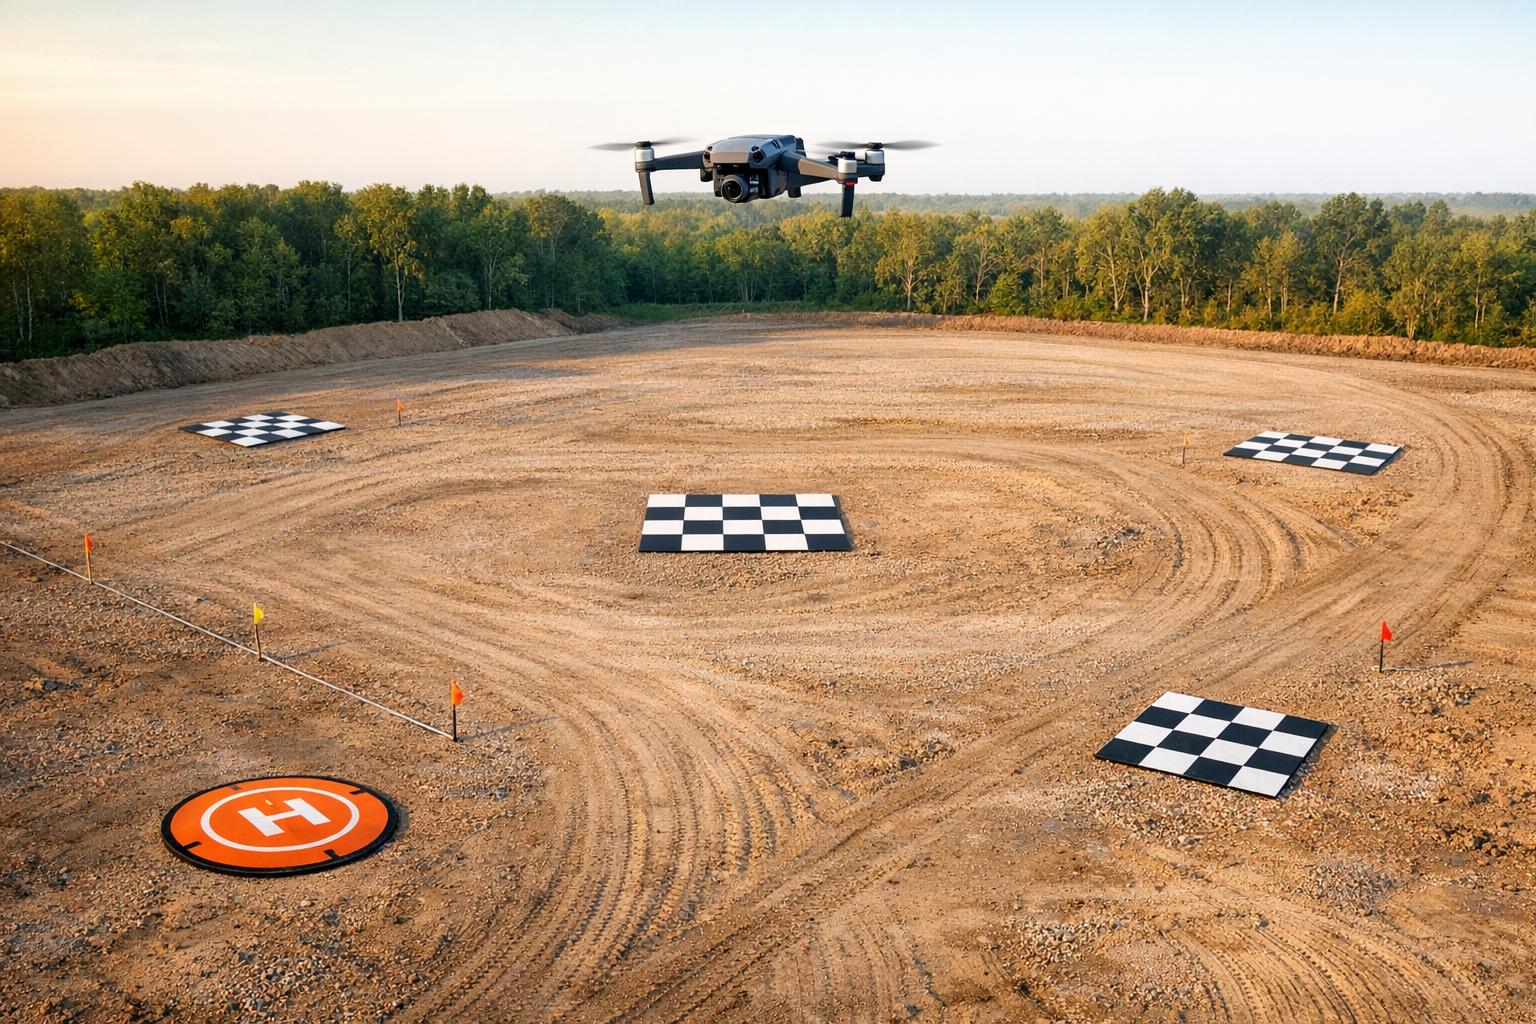
- Walk the Site: Identify obstacles, finalize GCP placement, and confirm safe launch/landing zones.
- Set Proper Altitude: Adjust for terrain and maintain consistent GSD for clear imagery.
- Verify GPS Signal: Ensure strong satellite connections for accurate georeferencing.
- Review Data On-Site: Check images and logs immediately to fix issues before leaving.

10 Essential Drone Pre-Flight Checks for Accurate Mapping
1. Calculate Ground Sampling Distance (GSD) Before Flight
Ground Sampling Distance (GSD) refers to the ground area captured by a single pixel in your imagery. For instance, a GSD of 0.4 inches per pixel means each pixel represents a 0.4 x 0.4-inch area on the ground. This directly impacts the resolution of your images and, ultimately, the accuracy of your survey.
As Vision Aerial explains, "Your survey cannot be more accurate than your GSD". If your GSD is 2 inches per pixel, features smaller than 2 inches won't be measured reliably. High-precision surveys typically require a GSD as low as 0.4 inches per pixel, while UAV photogrammetry often operates in the range of 0.6 to 1 inch per pixel.
You can calculate GSD before your flight using the following formula:
(Flight Altitude × Sensor Height) / (Focal Length × Image Height).
Most flight planning tools, like QGroundControl, handle this calculation for you once you input your camera specs and desired altitude. For example, Ian Cotita from CAVU Media Group reduced his flight altitude by 25 feet while mapping New Orleans City Park, capturing 2,500 additional images. This adjustment significantly increased the data points for the final map of the 1,300-acre area.
Lowering GSD (achieving higher resolution) allows you to capture finer details. However, this requires flying closer to the ground at slower speeds, increasing the risk of collisions. On the other hand, a higher GSD covers more ground quickly but sacrifices detail. The key is balancing efficiency with project needs - construction inspections may demand a 0.4-inch GSD, while large-scale topographic surveys can work well with around 4 inches per pixel.
To improve your GSD, consider these options:
- Fly lower.
- Use a higher-resolution camera.
- Increase your focal length.
With advanced sensors and precise PPK (Post-Processed Kinematic) data, sub-inch accuracy is possible even at altitudes of 400 feet. Proper GSD calculation is essential for accurate ground control point placement, ensuring your mapping workflow delivers reliable results.
sbb-itb-ac6e058
2. Place Ground Control Points (GCPs) Correctly
After calculating your Ground Sampling Distance (GSD), the proper placement of Ground Control Points (GCPs) is key to improving map accuracy. GCPs are surveyed markers that tie maps to real-world coordinates, reducing errors from meters to just centimeters. Even if individual GCPs are measured with precision, poor distribution can compromise the accuracy of your survey.
Think of GCPs as weights evenly distributed around the edges of a tarp. If the weights are clustered or unevenly placed, the tarp will sag or distort in certain areas. Similarly, GCPs need to be evenly spread across your survey area - especially at corners and edges where aerial imagery tends to distort more. For vertical accuracy, make sure to place GCPs at both the highest and lowest elevations.
For drones without RTK/PPK capabilities, use at least 4 GCPs, with a recommended density of 1 GCP for every 60 images. Drones equipped with RTK/PPK require fewer markers, needing just 1 GCP for every 200 images. Avoid clustering GCPs in a single area, as this can negatively impact the entire model.
"The sections with poor GCP coverage actually pull the sections with good coverage out of place, rendering the entire model unusable" - Propeller
To prevent clustering, ensure that no single image captures multiple GCPs.
When placing GCPs, choose stable, flat surfaces such as asphalt, concrete, or packed earth. Use high-contrast markers that are at least 4 feet wide, marked clearly with an 'X'. Position them in open areas, away from shadows, trees, fences, or moving equipment. To help processing algorithms stitch images accurately, maintain a buffer zone of 50–100 feet between your map's perimeter and the GCPs.
A great example of effective GCP placement comes from Landpoint, a surveying company in Louisiana. In May 2017, they mapped an 85-acre topographical survey using strategically placed GCPs. Their approach not only delivered high global accuracy but also saved over 80 man-hours compared to traditional surveying methods. Additionally, ensure that the center of each GCP is clearly visible in your imagery.
Proper GCP placement sets the foundation for accurate mapping, ensuring precise image alignment and smoother processing in later stages.
3. Extend Flight Coverage Beyond Your Target Area
When planning your flight, extend your coverage area by 15–20% beyond your target zone. This extra buffer helps your mapping software stitch images more effectively and reduces edge distortion.
Images captured near the edges of a flight path often have less overlap and are more prone to radial distortion. By extending your flight path, you ensure the target area is centered in the images, improving accuracy.
This strategy also affects the placement of Ground Control Points (GCPs). Since radial distortion is most pronounced at the edges of images, avoid placing GCPs near the flight area's perimeter. The extended buffer ensures your GCPs remain in the central, more precise portions of the imagery.
For surveys involving long, narrow features like pipelines or property boundaries, avoid flying a single narrow path. Instead, divide the survey into overlapping segments. Before launching, set your Return-to-Home altitude high enough to clear any obstacles in the extended area. Use GIS tools or flight planning software to define boundaries and confirm that your flight paths are obstacle-free. This preparation ensures smooth data collection, even for linear features.
4. Maintain Consistent Image Overlap
Once you've nailed down proper GCP placement and extended flight coverage, the next step is ensuring consistent image overlap. This is a critical factor for photogrammetry software to seamlessly stitch drone images into an accurate map. The software relies on identifying tie points - shared visual elements across multiple images - to align photos and calculate depth for 3D modeling. Without enough overlap, you might face data gaps or processing errors.
For mapping areas with varied features and uniform terrain, aim for a baseline of 75% forward overlap and 75% side overlap. If you're working on agricultural fields or other landscapes with repetitive patterns, bump both overlaps up to 80%. In tougher environments - like forests, dense vegetation, snow, or sand - where distinguishing tie points becomes trickier, increase the overlap to 85% in both directions for more reliable results.
Terrain differences can also throw off your overlap. For instance, when a drone flies over hills or tall structures at a fixed altitude, the effective overlap shrinks as the ground gets closer to the camera. To counter this, use terrain following or terrain awareness features in your flight planning software. These tools adjust the drone's altitude based on topographical data, helping maintain a consistent distance from the ground and steady overlap.
Most flight planning software offers manual sliders to tweak overlap settings, as well as automatic modes that adjust flight speed and photo intervals. If the software flags that the drone is moving too fast, increasing the flight altitude can help. As DroneDeploy explains, "Flying higher is the single most powerful way to improve data quality and increase overlap".
Keep in mind, higher overlap settings come with trade-offs - they extend flight times, drain batteries faster, and generate larger datasets that take longer to process. Weigh these practical challenges against your accuracy needs to find the right overlap balance for your project.
5. Break Long Linear Flights Into Overlapping Sections
When dealing with long, narrow features like pipelines, irrigation ditches, or property fence lines, breaking the flight path into overlapping sections can help tackle common challenges effectively.
One key consideration is the visual line of sight (VLOS) requirement. Drones become difficult to spot beyond 1,500 feet, so dividing the flight into segments helps maintain VLOS and ensures compliance with regulations. By launching from the center of each segment, you can extend coverage up to 3,000 feet while staying within the VLOS limit.
Another factor is battery life. Long corridors often exceed the capacity of a single battery. Segmenting flights allows for safe landings and battery swaps without risking data loss. This approach not only maximizes battery efficiency but also ensures consistent data collection across all sections. To maintain continuity, it's crucial to include a 100-foot overlap between segments.
"Having 100' of overlap between the segments allows for features to be matched in both segments and will give the model plenty of overlap to seamlessly stitch the segments together." - Aerotas
Additionally, place one ground control point (GCP) in each overlap zone. This keeps all segments anchored to the same real-world reference, preventing alignment errors during stitching. Flying segments consecutively also helps maintain consistent lighting, which is essential for smooth data integration.
Most flight planning software, including DJI tools, simplifies this process with features that automatically divide long corridors into equal, manageable sections. These tools take much of the guesswork out of planning, ensuring your flights are both efficient and accurate.
6. Check Airspace Restrictions and Get Required Permits
Beyond the technical side of things, making sure you’re legally cleared to fly is a key part of any mapping mission. Before you even think about launching your drone, confirm that you have the necessary permissions for your chosen area. Airspace regulations exist to prevent accidents with manned aircraft and to ensure drones operate safely within the National Airspace System. Ignoring these rules can come with steep penalties - violating a Temporary Flight Restriction (TFR) could cost you up to $100,000 in fines, while flying in a way that endangers manned aircraft may result in fines of $10,000 and even a year in prison. Legal preparation is just as important as technical readiness for a safe and successful flight.
The Low Altitude Authorization and Notification Capability (LAANC) system makes it easier to get near-instant approval for flights at or below 400 feet. Currently, it’s available at 726 airports across the U.S.. You can use FAA-approved apps like Aloft, AirMap, or UASidekick to submit requests up to 90 days in advance. For areas outside LAANC coverage or if you need special waivers, manual requests through FAADroneZone should be submitted at least 60 days ahead of time.
"Understanding airspace provides predictability - knowing where, when, and how long approvals will take." – Jessica May, Drone Industry Expert, DroneBundle
On the day of your flight, check for Temporary Flight Restrictions using the FAA's B4UFLY app or your LAANC app. TFRs can pop up unexpectedly due to events like presidential visits, wildfires, or major sports games, and they override any prior authorizations. For example, stadium TFRs cover a 3-nautical-mile radius around the venue and extend up to 3,000 feet in altitude.
If you’re operating near a Class D airport with a part-time control tower, consult the FAA Chart Supplement to check the tower’s hours. When the tower is closed, the airspace might revert to Class G (uncontrolled), which could eliminate the need for prior authorization. Always keep digital or physical copies of your authorizations and your Part 107 certificate on hand during your flights.
7. Walk the Site Before Flying
Taking the time to physically inspect a site before launching your drone can save you from hours of frustration later. This step helps uncover ground-level obstacles and potential hazards that might not be obvious when viewing the area through a screen.
As you walk the flight area, keep an eye out for anything that could interfere with your drone's path. This includes power lines, trees, buildings, hills, and especially thin wires - these are often missed by obstacle avoidance sensors. Don’t forget to check for tall vegetation or debris, as these can disrupt the drone’s signal and even trigger an unplanned Return to Home event. This walkthrough is also a great opportunity to fine-tune the placement of your Ground Control Points (GCPs) for better visibility.
To ensure your GCPs are easy to spot, clear away any vegetation around them and mark their locations with something visible. For instance, mowing down tall grass that could obscure GCPs will not only improve map accuracy but also save you time in post-processing. Additionally, evaluate your takeoff and landing zones to confirm they are flat, free of obstructions, and level. Watch for sudden elevation changes that could mess with altitude readings, and plan to maintain at least 130 feet above the highest ground points to avoid stitching errors in your final map.
Finally, check that your logistical setup is ready for smooth operations. Make sure your staging area has enough space, confirm gate access, and review any site-specific instructions. It’s a good idea to conduct this walk at least a day in advance so you have time to address any issues that come up.
8. Set the Right Flight Altitude and Enable Terrain Following
Your flight altitude plays a crucial role in achieving accurate mapping results. It directly impacts the Ground Sampling Distance (GSD) - the size each pixel represents in the real world. Flying lower improves image clarity but significantly increases the number of images needed and extends flight time. For example, mapping a 1-hectare field at a 5cm GSD requires only 90 images and about 3 minutes of flight time. However, reducing the GSD to 1cm ramps up the requirements to 2,217 images and 37 minutes in the air. Essentially, halving your GSD increases flight time by 3.55 times and quadruples the file size of your data.
When working in areas with uneven terrain, terrain following becomes a must. This feature adjusts your drone's altitude based on the ground's elevation, ensuring consistent resolution across your map. Without it, you'll get sharp images in valleys but blurry ones over hills. Most flight planning software relies on terrain databases like ArcGIS Earth to calculate these altitude adjustments dynamically.
To ensure your drone's path is safe and efficient, use your flight software's Profile View tool. This feature provides a visual graph of the ground elevation compared to your drone's planned altitude, helping you identify potential collision risks. If the flight path looks too close to the terrain, you can increase the flight height or tweak the tolerance settings to maintain a safe clearance.
Keep in mind, terrain databases don’t account for man-made structures or vegetation. To avoid accidents, manually raise your altitude to clear tall obstacles and set your Return-to-Home (RTH) height above the tallest feature in the area. Many drones don't adjust for terrain during automated returns, instead flying in a straight line at a fixed altitude.
For most mapping missions, stay within the legal altitude of 400 feet. Avoid flying below 40 feet, as low altitudes can stir up dust and disrupt vegetation, reducing image quality. Lastly, download offline basemaps before your flight to ensure terrain data is accessible even without an internet connection.
9. Confirm GPS Signal Strength and Georeferencing Settings
Accurate mapping starts with a strong GPS signal. Before taking off, ensure your drone is connected to at least 8–12 satellites and has a confirmed Home Point. This step is crucial for stable positioning and setting a reliable georeferenced takeoff location. Without a solid satellite lock, your drone's positional data might be unreliable, which could jeopardize your mapping mission. Typically, standard GPS offers horizontal accuracy of about ±16 feet 90% of the time, though under optimal conditions, this can improve to roughly 8 feet.
Once you've confirmed a stable satellite connection, check for potential obstacles that could interfere with the signal. Structures like tall buildings, dense trees, or metal surfaces can cause GPS shadows or multipath interference. If you're aiming for RTK/PPK accuracy at the centimeter level, ensure your correction link is active and showing a "Fix" status.
To further optimize your flight, use tools like UAV Forecast to check satellite visibility and plan your mission during the best possible GPS conditions.
10. Review Captured Data Before Leaving the Site
Once your drone flight is complete, taking a few extra minutes to review your captured data on-site can save you from headaches later. Dedicate 10–15 minutes to check your images and flight logs using a tablet or laptop. This allows you to spot and fix any issues immediately rather than discovering them during post-processing. Start by confirming image overlap and reviewing 10–20% of the images for sharpness and proper exposure.
You can also generate a quick, low-resolution orthomosaic using mobile apps like DroneDeploy or Pix4Dmobile. These apps help identify any gaps, distortions, or inconsistencies in your data. This preview, which typically takes 10–15 minutes, can reveal problems like missing sections, edge distortions, or "Swiss cheese" point clouds caused by insufficient overlap. If you notice gaps - especially along the 15–20% buffer zone around your target area - you can refly those areas immediately, avoiding surprises later.
Check the visibility of your ground control points (GCPs) in a sample of images. Also, review your flight logs to ensure optimal satellite conditions. Ideally, you'll want a satellite count of 10–12 or more and HDOP values below 1.5. If you're using RTK/PPK corrections, confirm that your correction link maintained a "Fix" status throughout the flight. Without this, weak GPS signals could cause positional drift of 3–10 feet, leading to inaccuracies.
For additional verification, measure 3–5 known distances (like a 100-foot road segment) and compare them to your on-site measurements. Aim for an error margin of less than 2 inches. A quick walk around the site to compare your data against known features can also help catch anomalies early.
Conclusion
Getting accurate results from drone mapping starts well before the drone leaves the ground. Careful pre-flight preparation not only helps you gather reliable, high-quality data but also safeguards your equipment. As Pradipta V Mukherjee, CEO of Mavdrones, puts it: "A thorough pre-flight checklist is essential for responsible and expert drone operation, ensuring safety, compliance, and high-quality data capture".
The tips shared earlier are the foundation of a successful mapping mission. Each one targets a potential weak point, ensuring every stage of your flight is set up to deliver precise georeferencing in your final orthomosaic.
At the heart of every successful mapping project is solid preparation. These small but critical steps can make all the difference - improving image quality, avoiding costly re-flights, and ensuring your data meets the high standards expected in land surveying, infrastructure assessments, and industrial projects.
FAQs
How do I pick the right GSD for my project?
When selecting the right Ground Sampling Distance (GSD), think about the level of detail and coverage your project demands. If your goal is high-detail inspections, go for smaller GSD values (like 0.27–0.82 cm/px). These provide sharper, more precise imagery. On the other hand, larger GSD values (such as 2.74–3.29 cm/px) are better suited for covering larger areas with less detail, making them perfect for large-scale mapping tasks.
Keep in mind that factors like camera resolution, focal length, and your project's specific goals play a big role. Finding the right balance between detail, coverage, and flight efficiency ensures your project meets its objectives effectively.
Do I still need GCPs if I use RTK/PPK?
Even with RTK or PPK systems improving positional accuracy, incorporating Ground Control Points (GCPs) is still advised for achieving the most precise results, particularly when centimeter-level accuracy is required. GCPs act as reference points to validate and adjust data, helping to mitigate errors caused by environmental influences or distortions. While RTK and PPK enhance positioning, GCPs are essential for ensuring survey-level accuracy in fields like construction, land surveying, and infrastructure monitoring.
What’s the fastest way to catch mapping mistakes on-site?
Before taking off, it’s critical to conduct a thorough pre-flight check with a strong focus on Ground Control Points (GCPs). Start by carefully reviewing their placement and measurements. Double-check these both before and after the flight to spot any GPS drift or movement that could affect accuracy.
During the flight, use real-time accuracy tools to monitor and verify that the captured data aligns with your reference points. Properly positioning GCPs and validating their accuracy on-site can help you quickly identify and fix any errors. This ensures your mapping results are as precise as possible.
